Rimless tanks... to cover or not to cover...
So you bought a beautiful rimless aquarium because after perusing LFS after LFS you just loved how awesome their show tanks look. 6 months into the hobby you have a few fish that you adore and everything is going swimmingly (pun intended). You wake up one morning and you see one of your FAVORITE fish flopping on the floor. Your heart stops and you stop breathing, you rescue Mr. Clown, and you immediately start researching online for creative, attractive, aquarium tops to hopefully prevent this from EVER happening again. And now you are reading this.
So what are your options? Here are 4 of them and yes, we've tried them all:
- Glass or Acrylic cover
- Custom designed and cut polycarbonate tops
- DIY screen mesh cover - pre-made kits
- DIY screen mesh cover - really DIY
What we learned: Glass or Acrylic cover
Our first tank was a 45 gallon acrylic tank. It was euro-braced and Mr and Mrs Clown were the first fish in the tank. After the incident, our inexperienced selves thought an acrylic top would match and look good. 12 years ago, option 2 was not around (as far as we were aware). We thought we were clever and segmented the top into three different pieces, front to back, for easier access when needed. We used 1/4" acrylic because we were worried about light penetration. What we didn't know was that acrylic warps - easily... and even easier under heat from the light.
We changed it out to 3/8" acrylic. The same thing would happen. It would still warp, but slower, and we got into the habit of flipping over the tops with every water change. Ironically, it was good because it made us clean off the salt creep and condensation which helped with lighting.
Eventually we switched the back two panels to glass and kept the front panel acrylic - didn't want to accidentally drop it on a bad day. I'm sure you can guess what happened. Yep, the glass panels never got cleaned =). So overall, not a bad look, but there are some maintenance challenges that definitely do not fit our mantra of super simple.
What we learned: Custom designed and cut polycarbonate tops
Fast forward 5 years - welcome Red Sea Reefer 350. Yes, it's a rimless and yes, we bought it knowing that we would be wanting/needing a top.
Around this time, the polycarbonate tops were all the rage. Going this route comes with pressures of selecting lighting, having cord management plans, and having auto fish feeder integration plans. A $400 top was not something for us to take lightly.
To further mitigate risk, we went with a model that was marketed as modular. Unfortunately, the top didn't last very long. (This post will not focus on the quality or construction of our particular vendor.) We didn't pursue another top manufacturer because after using it for just 2 months, we could see that the polycarbonate custom top route would not be a long term solution for us. Being custom, it was too limiting and cost prohibitive. The clear polycarbonate also didn't gave us the look we thought it would. Instead of accentuating the look of the rimless tank by fading into the background, it would actually stand out and "glow" because of the reflection from the lights - definitely a great show piece though. Additionally, the top was heavy and sagged. It was challenging to access the tank when we needed too. For these reasons, we decided to pursue DIY options.
What we learned: DIY screen mesh cover - pre-made kits
Pre-made kits can be a easy solution for the right setup. Everything is already cut to size so you know it will fit your tank - particularly if you use the same manufacturer.
Red Sea DIY Aquarium Net Cover:
Red Sea is one of the biggest names out there with a large aquarium market share. For that reason, this may make sense for many reefers. It would be guaranteed to fit a Red Sea tank.
Pros:
Cons:
- Basic 48" kit starting at $69.99 and cut-outs starting at $10 a piece if you want to modify anything
- Proprietary sizing - the corner pieces will only fit Red Sea frames
- The design of the clips is not our preference. Due to the location of the clips, they seem to stand out more than they need to in our opinion
Innovative Marine DIY SafeScreen Mesh Screen Kit:
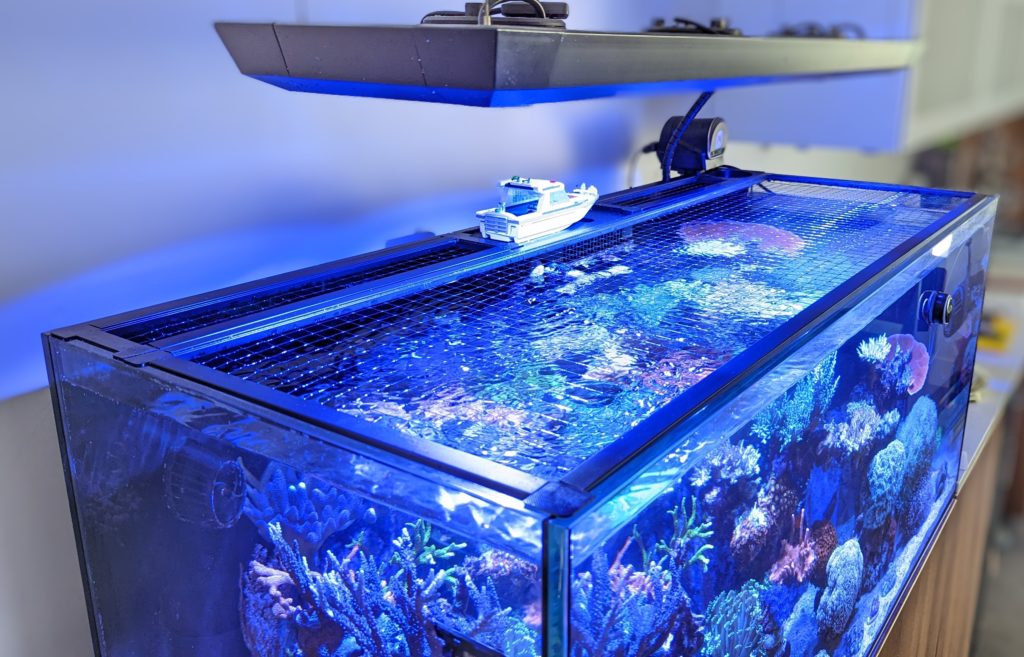
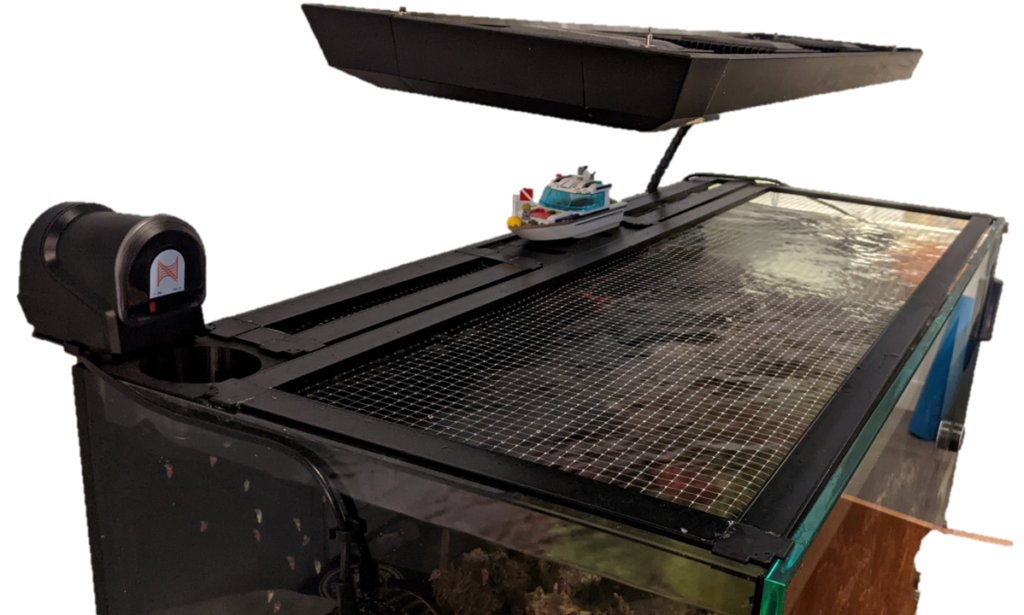
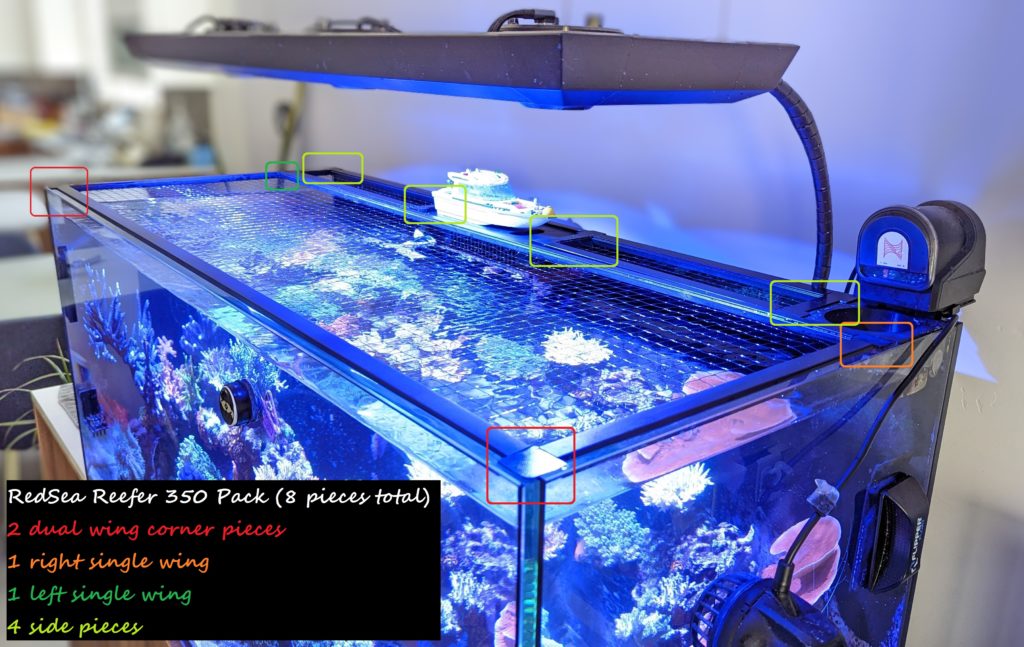
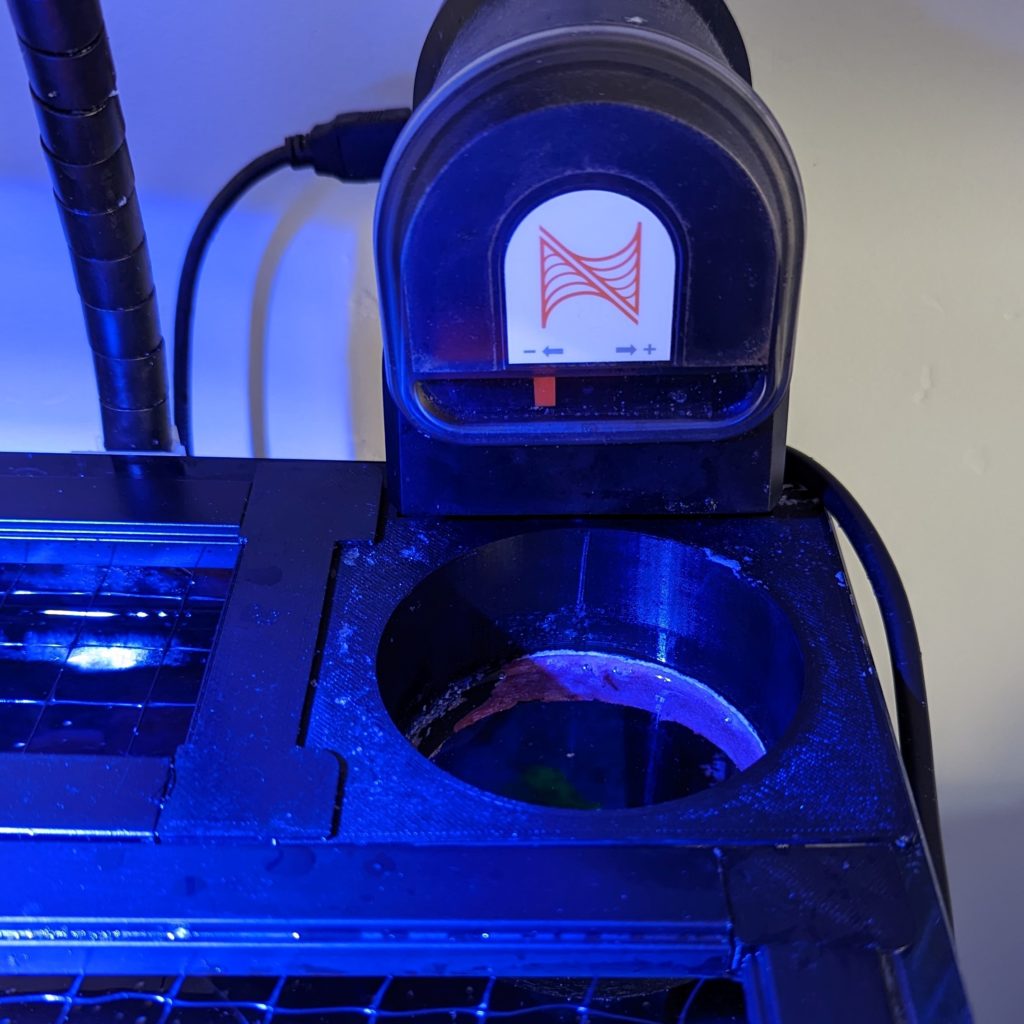
The Innovative Marine system is currently on our tank. Since going to a pendant lighting system with MP40s, we didn't need the flexibility of cut-outs or cord management. We enjoy the pros below and have designed the top in 3 pieces to accommodate the lack of cut-out options. Of course, we also used our own AFS Tube design for a seamless integration with the top.
Pros:
- Thicker rails, which provide more durability
- Tops will sit below the rim line
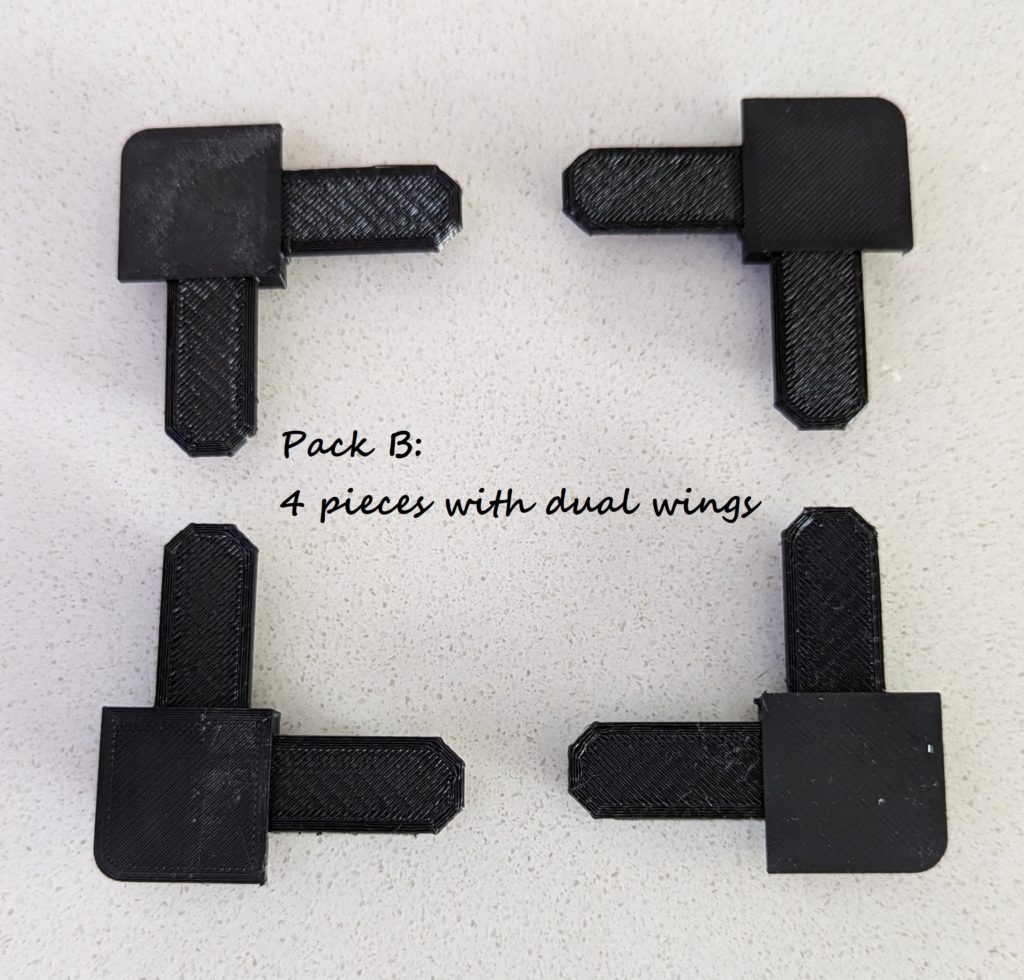
- Bi-wing corners hold the top in place - no additional clips needed though available
- Pop-off corners for cord management option
Cons:
- Cheaper than Red Sea, with a 48" kit starting at $59.99, but just a basic rectangle top with no overflow cutouts
- Difficult to find/buy additional corner pieces with wings
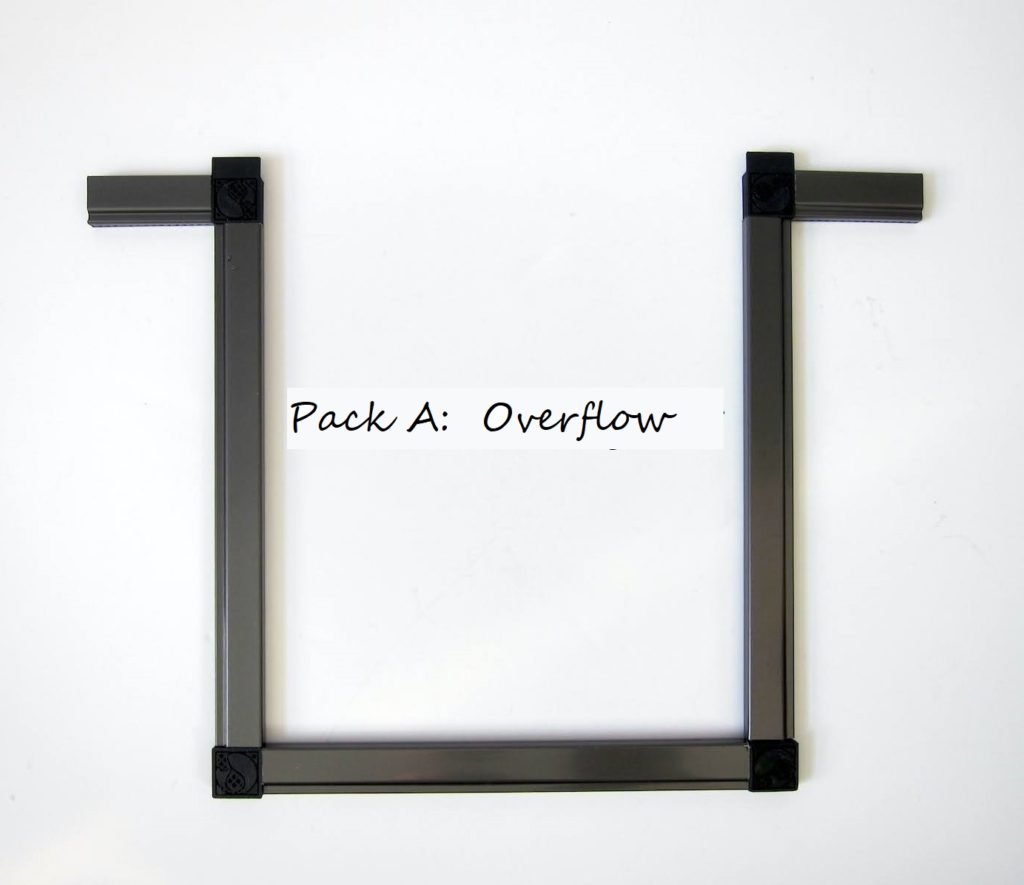
- Need to buy corner pieces ($10 for 4) to build overflow cutout
- Not easy to integrate light mounting arms
What we learned: DIY screen mesh cover - really DIY: ~$60 for 48" top
Ultimately, we are really liking the aluminum rails look. The black rails from Innovative Marine Kit match the black silicone very nicely.
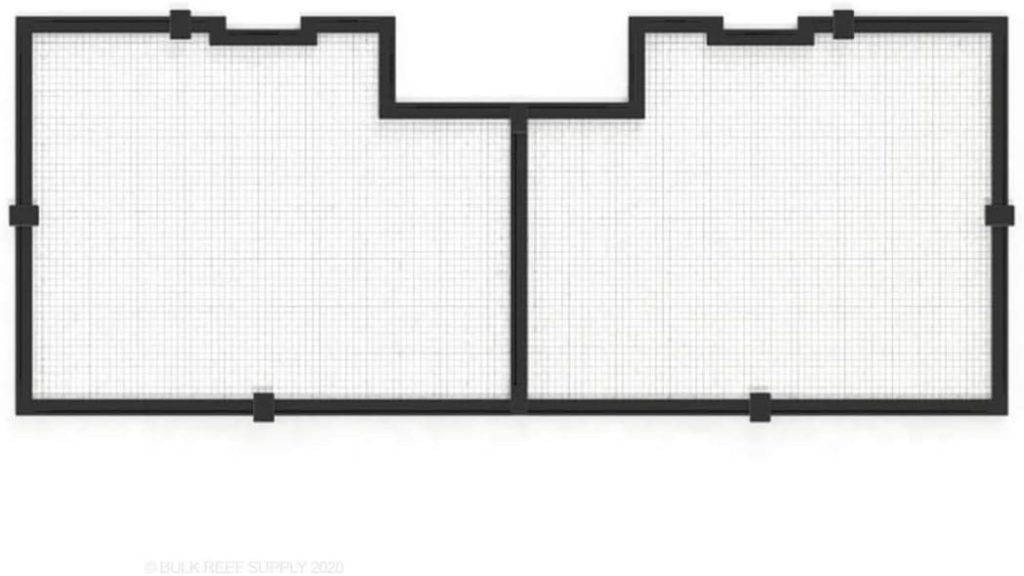
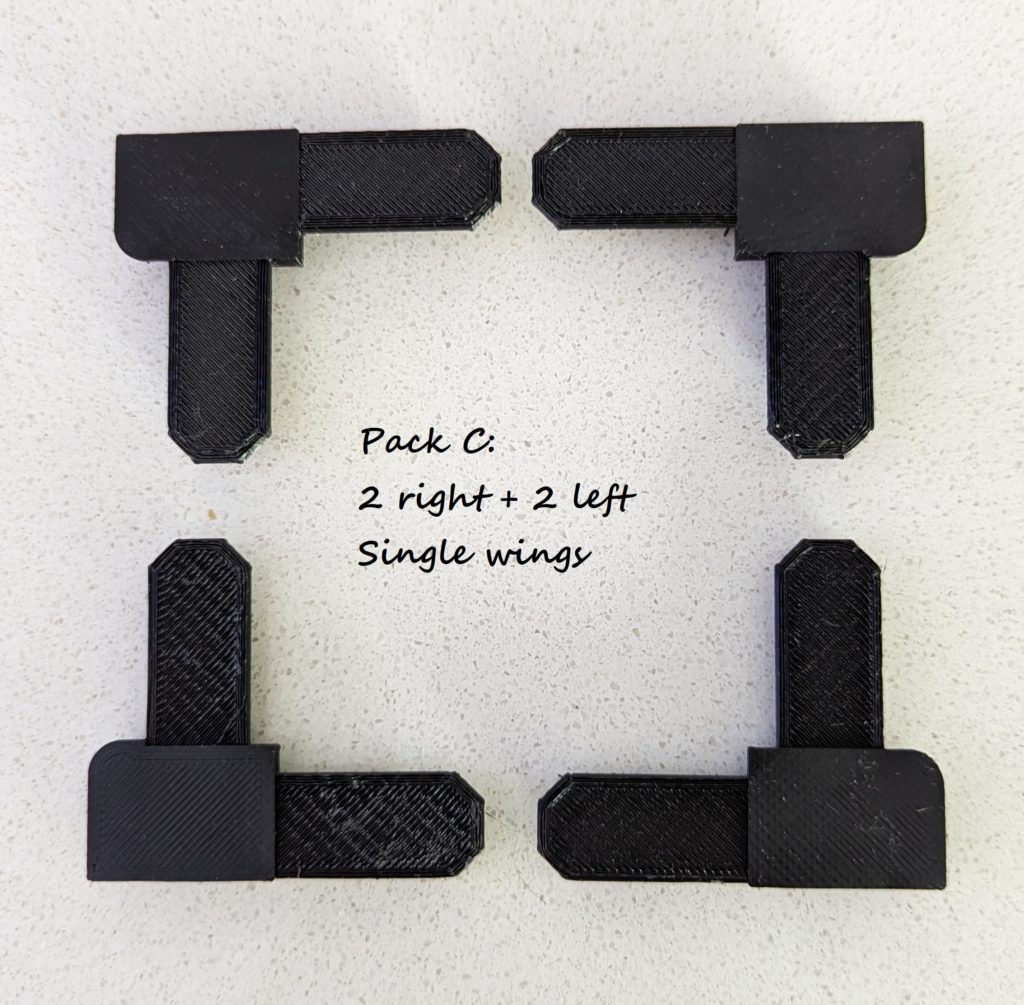
Based on our experiences, we decided to design corners, adapters, and cut-outs to try to take a best of all the options for when we are ready to change it up again. We are also going to try a dark screen rather than the clear screen based on a recommendation.
Additionally, when going this route, consider spray painting the aluminum rails black as they usually only come in silver, dark bronze, or white. Below is a breakdown of everything you need and what the estimated cost may be.
- Rails for a 48" long tank: ~$10
- Spline: ~$5
- 4 dual wing corners: $8
- Overflow cut-out pieces: $8
- 2 cut-outs for lighting: $16
- Mesh: $13
- *Optional: black spray paint

We hope this helps you decide what will be best for you and your tank. Let us know how your DIY turns out! Happy Reefing and remember to keep it Super Simple.
4/22/2023 Update:
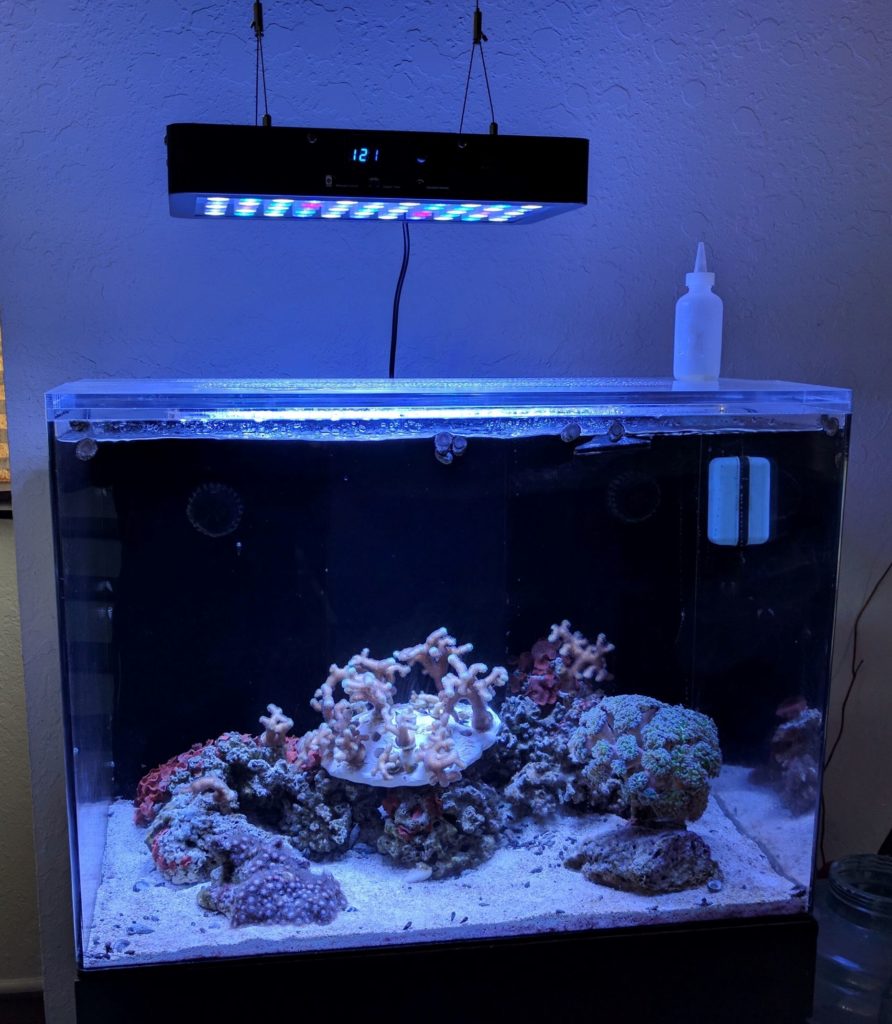
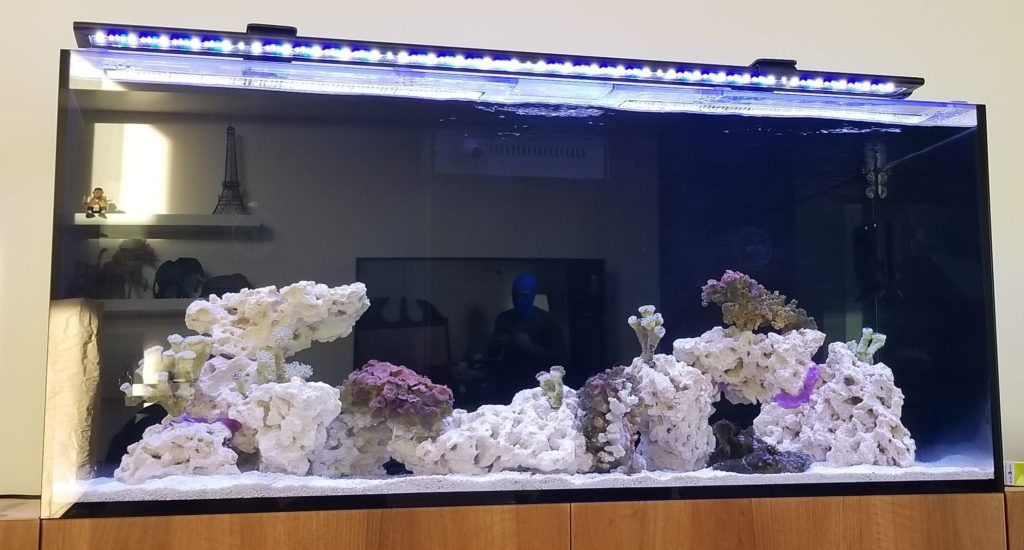
So it's been a couple of years now.... corals are getting bigger and need more light! We upgraded to Kessils and were looking to reduce the thickness of the rails to let more light through.
So, we did everything that we recommended....
- We replicated the same 3 pieces with our own corner pieces
- We upgraded from clear mesh to black mesh
- Spray painted 3/4" window screen rails to black w/ clear coat
- Used 1/2" mesh to let in more light - smallest fish is six-line
Needless to say, we are thrilled with the look! Please judge for yourself!